How do I secure a tile?
SharpTools offers options to set security settings on all tiles in a dashboard or individual tiles. This allows to restrict control of tiles to one of the following:
(See below for further explanation of each of these settings)
Secure All Tiles on a Dashboard
One option is to secure all tiles on a dashboard using the dashboard level security settings.
By default, security settings applied at the dashboard level will apply to all tiles unless the security setting of an individual tile has been customized. In other words, customizations to the security setting of an individual tile will override the dashboard level settings.
The ability to set a dashboard wide security setting and then override the security settings on individual tiles allows for some really powerful configurations such as being able to set all tiles on a dashboard to read only, then override individual tiles that you want to be able to control.
To secure all tiles on a dashboard:
- Open your desired dashboard
- Tap the `...` in the bottom right corner and select Configuration
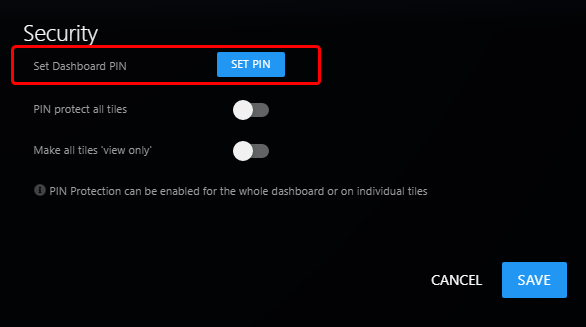
- Scroll down to the Security section and click Set PIN to set a PIN
Note: You will be prompted for the PIN twice to confirm your entry. - Once the PIN has been set, switch on either::
- PIN protect all tiles
- Make all tiles 'view only'
Secure Individual Tiles
Another option is to set the security of each individual tiles. As noted in the 'Secure All Tiles on a Dashboard' section, you can set default security settings for all tiles on a dashboard and then override those settings on each individual tile if desired.
- Open your desired dashboard
- Tap the `...` in the bottom right corner and select Edit
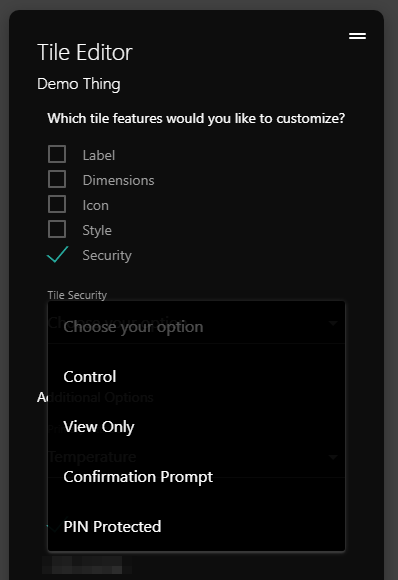
- Tap the `...` in the upper right corner of your desired tile
- Check the Security box to enable the relevant customization
- Select your desired Tile Security from the new drop-down that appears
Security Options Explained
Full Control (Default)
The 'Full Control' option is the default security setting and allows the tile action to take place without any prompt or confirmation being required. For example, on a thing tile this would allow control of the thing whereas on a Mode tile it would allow the mode to be changed. When the tile is tapped, the action will be immediately executed without any additional prompt or confirmation.
View Only
The 'View Only' option prevents any action from being taken on a tile whatsoever. This setting causes a tile to effectively become 'View Only' where the information about the Thing, Mode, Alarm status, or other tile information can be viewed, but tapping on the tile will not take any action.
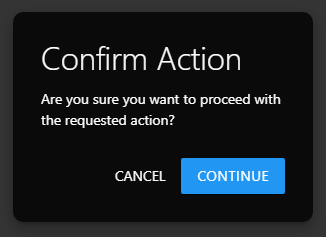
Confirmation Prompt
The 'Confirmation Prompt' option will display a confirmation prompt asking if you want to proceed when the tile is tapped. Only if the action is explicitly confirmed, will the action take place. You can tap anywhere outside of the dialog or tap 'Cancel' and no action will be taken.
This is the minimum recommended security setting for garage doors, door locks, and similar security devices.
Note that it's still possible to inadvertently tap on a tile and then inadvertently tap on the Continue button, thus it's recommended to use the PIN Protected option below for an even more secure option.
Note that it's still possible to inadvertently tap on a tile and then inadvertently tap on the Continue button, thus it's recommended to use the PIN Protected option below for an even more secure option.
PIN Protected
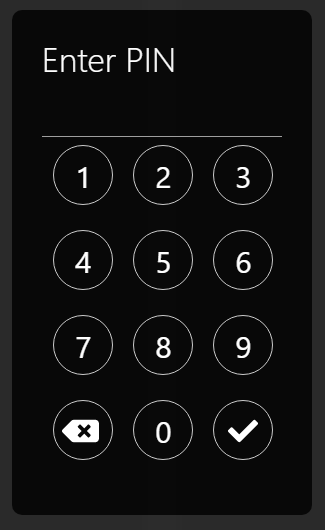
The 'PIN Protected' option will display a numeric keypad and requires the entry of a PIN code to take action on a tile. In order to use this feature, be sure to set a PIN in the Dashboard configuration. When the PIN Protected option is selected, you'll be prompted to enter your pin when tapping on a
Set the PIN (Dashboard configuration)
You must set a PIN in your Dashboard configuration before the PIN Protected option will work. If you receive an error message while attempting to use the PIN Protected feature, be sure to verify that a PIN has been set for your dashboard.
- Open your desired dashboard.
- Tap the `...` in the bottom right corner of the dashboard and select Configuration
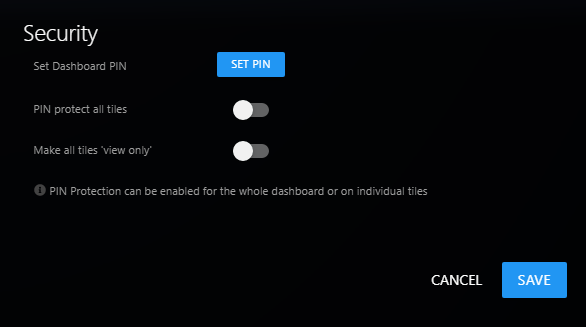
- Under the Security section, tap Set PIN to set a PIN number
Note: You will be prompted to enter the same PIN twice to confirm.